
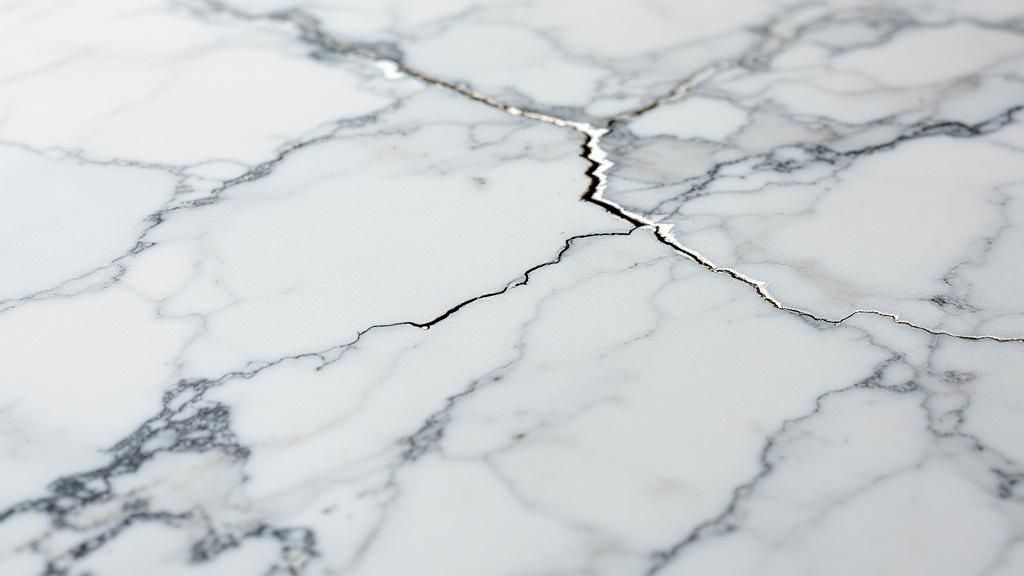
That sinking feeling when you spot a crack in your beautiful marble countertop or floor is all too familiar. Don't worry, though. Most small cracks can be fixed with the right tools and steps. This guide will show you how to repair cracked marble and make it look great again.
The first step isn't grabbing the glue—it's figuring out why it cracked.
Understanding Why Your Marble Cracked
Before you can fix a crack, you need to be a detective. Marble is a beautiful natural stone, but it can be damaged. Finding the cause of the crack will help you choose the best repair method.
Damage can happen from a sudden accident or from slow, hidden issues. Finding the root cause is key for a repair that lasts.
Common Causes of Marble Cracks
- Sudden Impact: This is the most common reason. Dropping a heavy pan on a kitchen island or knocking over furniture on a marble floor can cause chips or cracks.
- Improper Installation: This is a sneaky problem. If the cabinets or floor underneath the marble are not perfectly level, the heavy stone can bend over time. This stress can eventually create a long crack.
- Foundation Settling: Homes move slightly over time, especially in California. As a house settles, it can put pressure on hard materials like marble, causing cracks to appear suddenly.
- Thermal Stress: Marble does not like big temperature changes. Placing a very hot pot directly on a cool countertop can cause thermal shock, creating a fine web of cracks. Always use a trivet!
Knowing if you have a simple surface crack or a deeper problem will guide your repair. It's the difference between a quick fix and a problem that keeps coming back. Once it's fixed, you'll want to take good care of it. Check out our guide on the best way to clean marble to keep it looking beautiful.
Marble is a timeless material. The global marble market is expected to reach USD 92.23 billion by 2030. As more homes in the Bay Area use this stone, knowing how to care for it is more important than ever. Learn more about the marble market trends.
Choosing the Right Marble Repair Kit
Walking into a hardware store can be overwhelming with so many glues to choose from. For marble repair, you only need to focus on two main types: epoxy and polyester resins. Your choice will depend on where the crack is and how fast you need it fixed.
For busy areas like a kitchen countertop in a Palo Alto home, epoxy is almost always the better choice. It creates a much stronger bond that can handle daily use. Epoxies are also more resistant to water and chemicals, which is great for kitchens and bathrooms.
Comparing Key Differences
While epoxy is strong, polyester resin has its own benefits. Its biggest advantage is that it dries much faster. This makes it a great choice for small, cosmetic repairs in areas that don't get a lot of use.
Here is a quick comparison to help you choose the right product.
Comparing Marble Repair Adhesives
This table breaks down the two most common adhesives used for marble crack repair.
| Feature | Epoxy Resin | Polyester Resin |
|---|---|---|
| Best Use | High-traffic areas, structural repairs | Small chips, cosmetic fixes |
| Strength | Superior, very durable | Good, but less rigid |
| Curing Time | Slower (often 24 hours) | Faster (can be under an hour) |
| Water Resistance | Excellent | Moderate |
Both products have a place. It’s about matching the product to the job. Use epoxy for strength and polyester for quick, small fixes.
Why Color Matching Is Crucial
No matter which adhesive you choose, the secret to an invisible repair is matching the color. Good marble repair kits come with tints—usually white, black, and beige—that you mix into the resin. This lets you match the color of your stone perfectly.
A good repair shouldn't be noticeable. The goal is to blend the filler so well that only you know the crack was ever there. Taking an extra five minutes to get the color right makes all the difference.
After your repair is done, protecting the stone is the next step. To keep your marble looking its best, it's a good idea to learn how to seal natural stone properly.
Prepping the Marble for a Flawless Repair
A great repair is all about the prep work. This is where most DIY projects go wrong. If you focus on the details here, you will get a fantastic result because a clean crack helps the adhesive form a strong bond.
First, the crack must be perfectly clean and free of any loose bits. Even tiny dust particles can weaken the repair.
Cleaning and Clearing the Crack
Start by gently using the tip of a utility knife to scrape out any crumbling stone or old dirt from inside the crack. You want to create a clean channel for the filler to stick to.
Next, you must degrease the area. Oils from your hands, food, or cleaners can stop the epoxy from bonding. Use a clean cloth with acetone to wipe down the crack and the surface around it. Acetone is great because it dries quickly and leaves no residue. Make sure the surface is completely dry before you move on.
For more cleaning tips, our guide on how to clean natural stone floors has some great advice.
Pro Tip: Use painter's tape to mask the area. Place tape along both sides of the crack, leaving a small gap. This protects the undamaged marble from extra epoxy and makes sanding much cleaner and easier.
Essential Prep Work Checklist
Good prep is key for a repair that lasts. Before you mix any epoxy, follow this checklist:
- Remove Debris: Carefully clear all loose particles from the crack.
- Degrease Surface: Clean the crack thoroughly with acetone.
- Ensure Dryness: Wait for the acetone to dry completely. Do not rush this step.
- Mask the Area: Protect the nearby marble with painter's tape.
Taking the time to do this prep is what makes the difference between a visible patch and an invisible fix. It sets you up for a perfect finish on your journey of learning how to repair cracked marble.
Applying Filler to Make Cracks Disappear
Alright, this is where the magic happens. Your marble is clean and ready. Now it's time to apply the filler that will make that crack disappear.
First, mix your epoxy or resin. Always follow the manufacturer’s instructions. This usually means mixing the resin with a hardener. After that, add your color tint a little at a time until you get a perfect match. It's a good idea to test the color on a piece of tape first.
Application Techniques for a Smooth Fill
How you apply the filler depends on the size of the crack.
- For wider cracks or chips, use a small, flexible putty knife. Press the filler firmly into the crack to make sure it gets all the way to the bottom.
- For very fine, hairline cracks, you need more precision. A syringe is perfect for this. It lets you inject the filler directly into the crack without making a mess.
Here's a pro tip: slightly overfill the crack. You want the filler to be a little higher than the marble's surface. This extra material is important because you will sand it down later for a perfectly smooth, level finish.
Curing Time and Environmental Factors
Now for the hardest part: waiting. Most epoxy needs about 24 hours to fully cure and become solid. It is very important to let it set without being touched.
Keep an eye on the weather, too. Here in Monterey and the Bay Area, the coastal air can sometimes make things dry slower. It’s always smart to give it the full recommended time to be safe.
The image below shows the mixing and application process for most fillers.
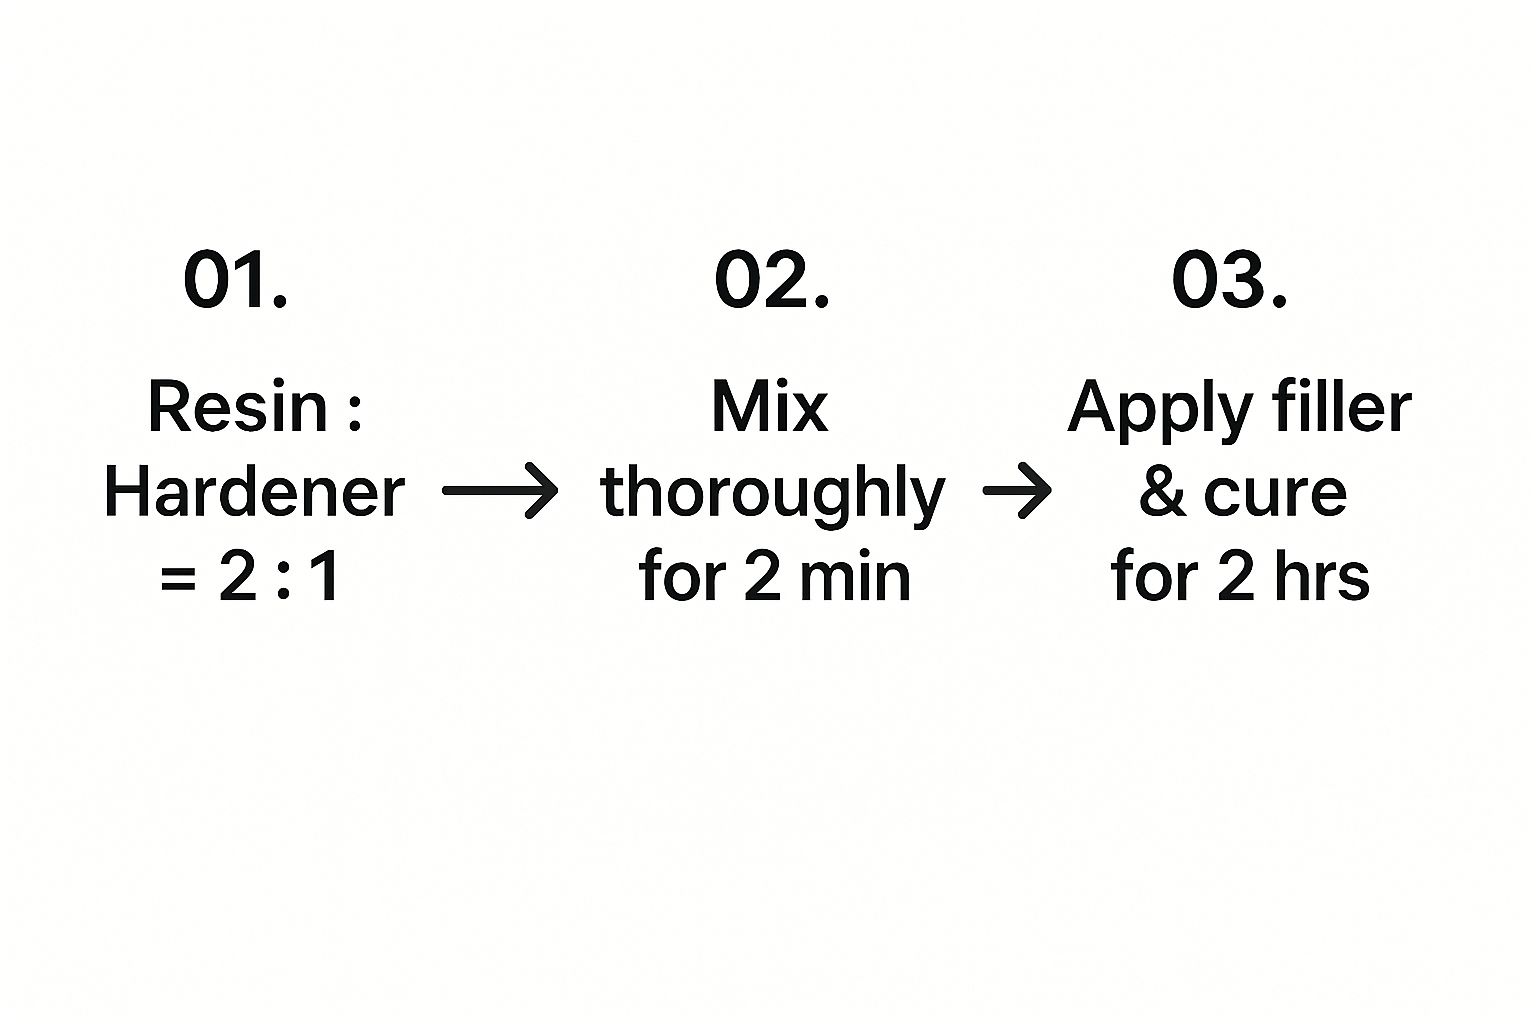
Modern epoxies are very effective. In fact, industry data shows that 60-70% of cracked marble repairs now use them. With these methods, cracks smaller than 0.5 mm can be restored up to 95%. To learn more, you can learn more about the marble market and repair trends here. Following these steps helps you get a lasting, almost invisible repair.
Sanding and Polishing for an Invisible Finish
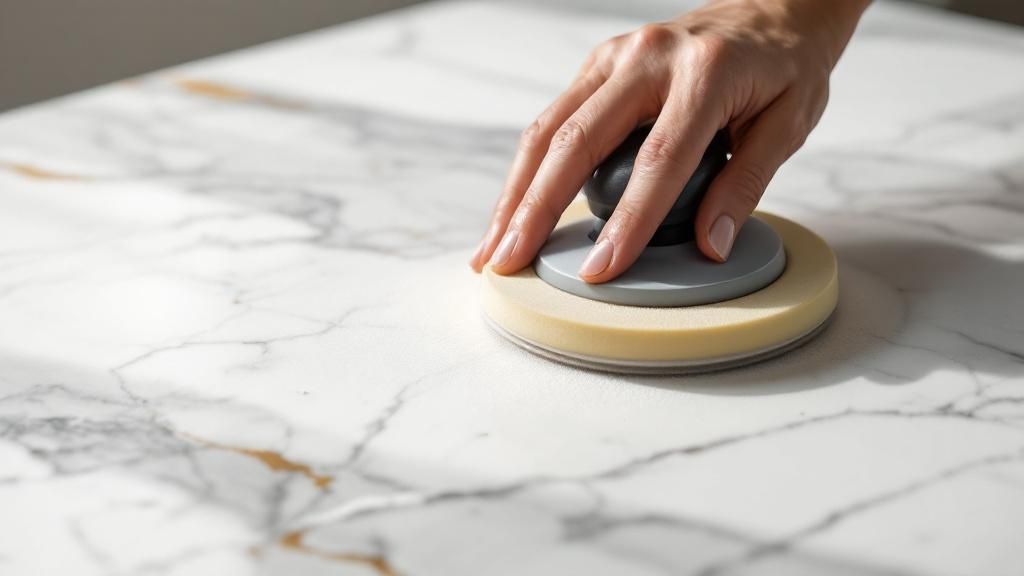
This final stage is what makes a repair blend in perfectly. Once the filler is completely hard, it's time to create a seamless, polished finish. This stage requires patience.
You’ll start by sanding down the extra filler. This is why we overfilled the crack earlier. It gives you material to work with to get a perfectly level surface.
The Sanding Progression
The secret to a smooth finish is using finer sandpaper in stages. Don't jump straight to the finest one.
- Start Coarse (220-Grit): Begin with a medium sandpaper, like 220-grit. Gently sand the raised filler in circles until it feels level with the marble.
- Move to Fine (400-Grit): Next, switch to a finer 400-grit paper. This step removes the small scratches from the first sandpaper and starts to smooth the surface.
- Finish Ultra-Fine (600-Grit): For the final pass, use a very fine 600-grit sandpaper. This will make the repaired area feel silky smooth and ready for polishing.
After sanding, the repaired spot will look dull. Don't worry, this is normal. The next step will bring back the shine.
To get that classic glossy finish, put a small amount of marble polishing compound on a clean, soft cloth. Rub the area in firm, circular motions until the shine returns and matches the rest of the surface.
When you're done, the repair will be strong and almost invisible. This final step truly completes the process of how to repair cracked marble. For more advice on keeping your stone looking its best, check out our guide on how to clean natural stone.
Frequently Asked Questions
Here are some common questions we hear from homeowners in the Bay Area when they repair marble for the first time.
Can I fix all marble cracks with a DIY kit?
Small chips and thin hairline cracks are perfect for a DIY repair kit. These kits work great for cosmetic fixes. However, if you have a deep, wide, or structural crack that goes through the whole slab, it's best to call a professional. An expert can find the root cause and ensure the repair is safe and strong.
How much time does a marble repair take?
The hands-on work—cleaning, applying filler, and sanding—can usually be done in an hour or two. The real challenge is waiting. Most epoxy resins need a full 24 hours to cure completely. Rushing this step will weaken the repair, so be patient.
Will the repaired crack be noticeable?
When done correctly, a repaired crack can be almost invisible. The keys are careful color matching and patient sanding and polishing. By blending the filler with your marble’s color and restoring the glossy shine, the repair will blend in perfectly.
How can I prevent my marble from cracking again?
A few simple habits can protect your marble for years.
- Always use trivets for hot pots and pans to prevent thermal shock.
- Use coasters for glasses, especially with acidic drinks like wine or citrus juice.
- Never cut directly on marble countertops; always use a cutting board.
- Have your marble professionally sealed every few years to protect it from moisture and stains.
Is epoxy or polyester resin better for a kitchen countertop?
For a busy kitchen counter, epoxy is the best choice. It creates a much stronger, more durable bond that can handle moisture, chemicals, and daily use. Polyester resin may dry faster, but epoxy provides the long-term strength needed for such an important surface. To learn more, check out our guide on how to choose the right marble or stone countertop supplier.
Still have questions or facing a tricky repair? The team at Carmel Stone Imports is here to help. Visit our showrooms in Carmel, Sand City, or Palo Alto to see our beautiful stone collection and talk with an expert today.
