Before your fabricator cuts that gorgeous slab of granite or quartz for your Bay Area home, a perfect template must be made. This isn't just a preliminary step; it's the most critical part of any countertop project, acting as the final, full-scale blueprint for your new surfaces. This guide on how to template countertops will walk you through the process, ensuring a flawless result whether you're a hands-on homeowner or a detail-oriented contractor. A flawless template ensures your new countertops will hug every curve, perfectly frame your sink, and have that ideal, uniform overhang.
The Blueprint for Flawless Countertop Installation

Think of countertop templating as the foundational step that dictates the entire outcome of your project. It’s far more than just taking measurements; it’s about creating a physical pattern that shows the fabrication team at Carmel Stone Imports exactly what to do.
Getting this part right is how you avoid costly mistakes and frustrating delays, achieving the seamless, professional look you want for your kitchen or bathroom. Even if you're not making the template yourself, understanding this process is incredibly valuable. This knowledge helps you collaborate effectively with your stone supplier, ensuring your vision is executed flawlessly.
Why a Perfect Template Matters
The template is the bridge between your kitchen's current layout and the final stone countertops. Its accuracy is non-negotiable and directly impacts several key factors:
- No More Gaps: Walls are rarely perfectly straight, especially in older California homes. A good template captures every bow and bump, guaranteeing a snug fit without unsightly gaps.
- Spot-On Cutouts: It locks in the exact location and size for your sink, cooktop, and faucets. This is critical when working with premium materials like marble or quartzite, where one wrong cut is a disaster.
- Consistent Overhangs: The template clearly marks the desired overhang on every exposed edge, which is how you achieve a uniform, polished look.
- Less Waste, More Value: An accurate blueprint helps fabricators lay out cuts efficiently. This minimizes waste, which can sometimes save money on your project.
The importance of precision in home renovation projects cannot be overstated. From countertop templates to window frames, accurate measurements are the cornerstone of a successful installation, preventing expensive errors and ensuring a polished final product.
The same principles of careful measurement apply across home improvement. Diving into a detailed door measurement guide can give you a greater appreciation for the craftsmanship involved.
Preparing Your Space for Templating Success
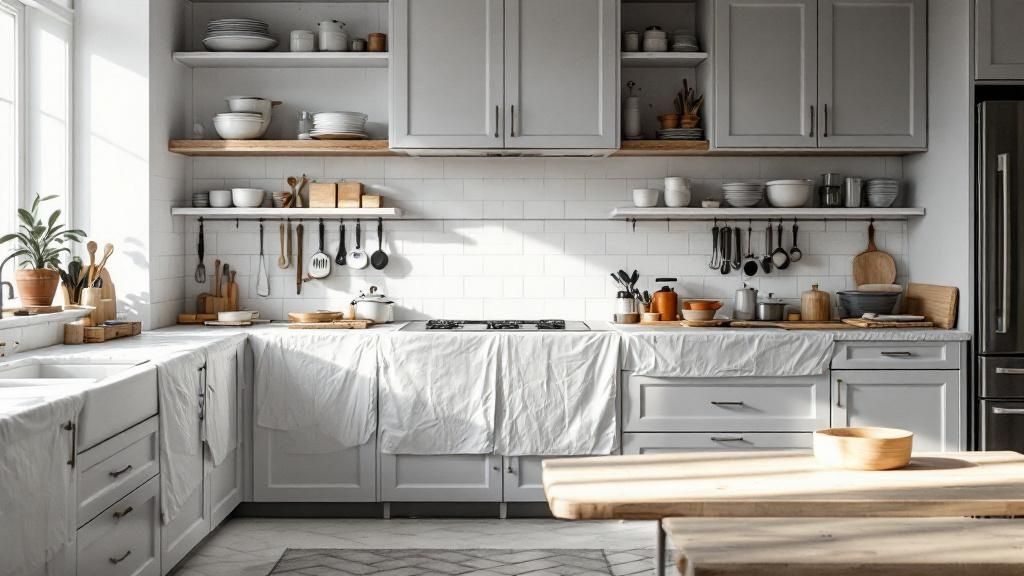
A successful countertop template starts long before laying down the first strip of material. Proper preparation is the foundation for accuracy, ensuring the final stone slab fits perfectly into your space.
The first step is to create a completely clean and clear workspace. Remove everything from your existing countertops and the immediate area. You need an open field to work, measure, and move without obstruction.
Assembling Your Essential Toolkit
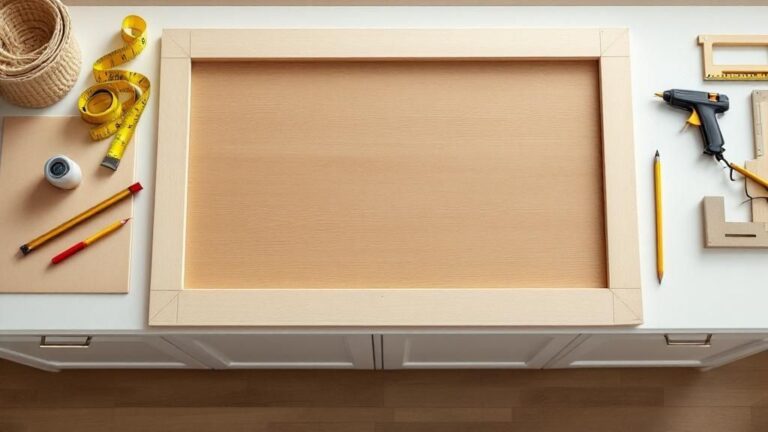
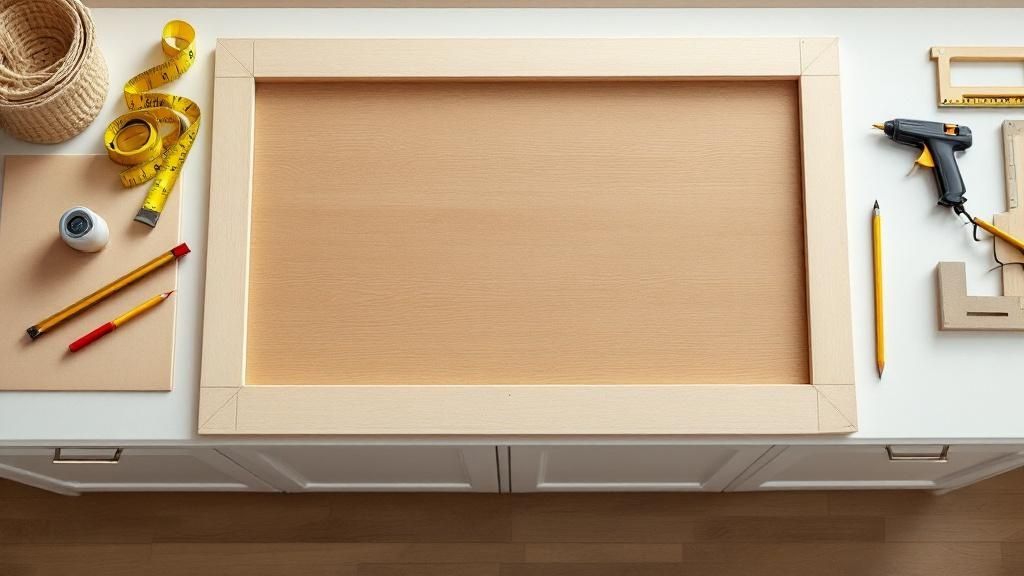
Gathering the right tools ahead of time is a professional move that prevents frustrating interruptions. You don’t need a massive collection, but every tool here plays a critical part.
Here’s what your essential toolkit should look like:
- Templating Material: Professionals almost always use thin, rigid strips of luan plywood or corrugated plastic (often called coroplast). These materials are key because they hold their shape without bending or warping.
- Hot Glue Gun: This is your best friend for quickly joining the templating strips. The bond is strong and sets fast, creating a rigid frame that you can transport without it falling apart.
- Measuring Tools: A high-quality tape measure, a trusty level, and a framing square are non-negotiable for ensuring straight lines and true right angles.
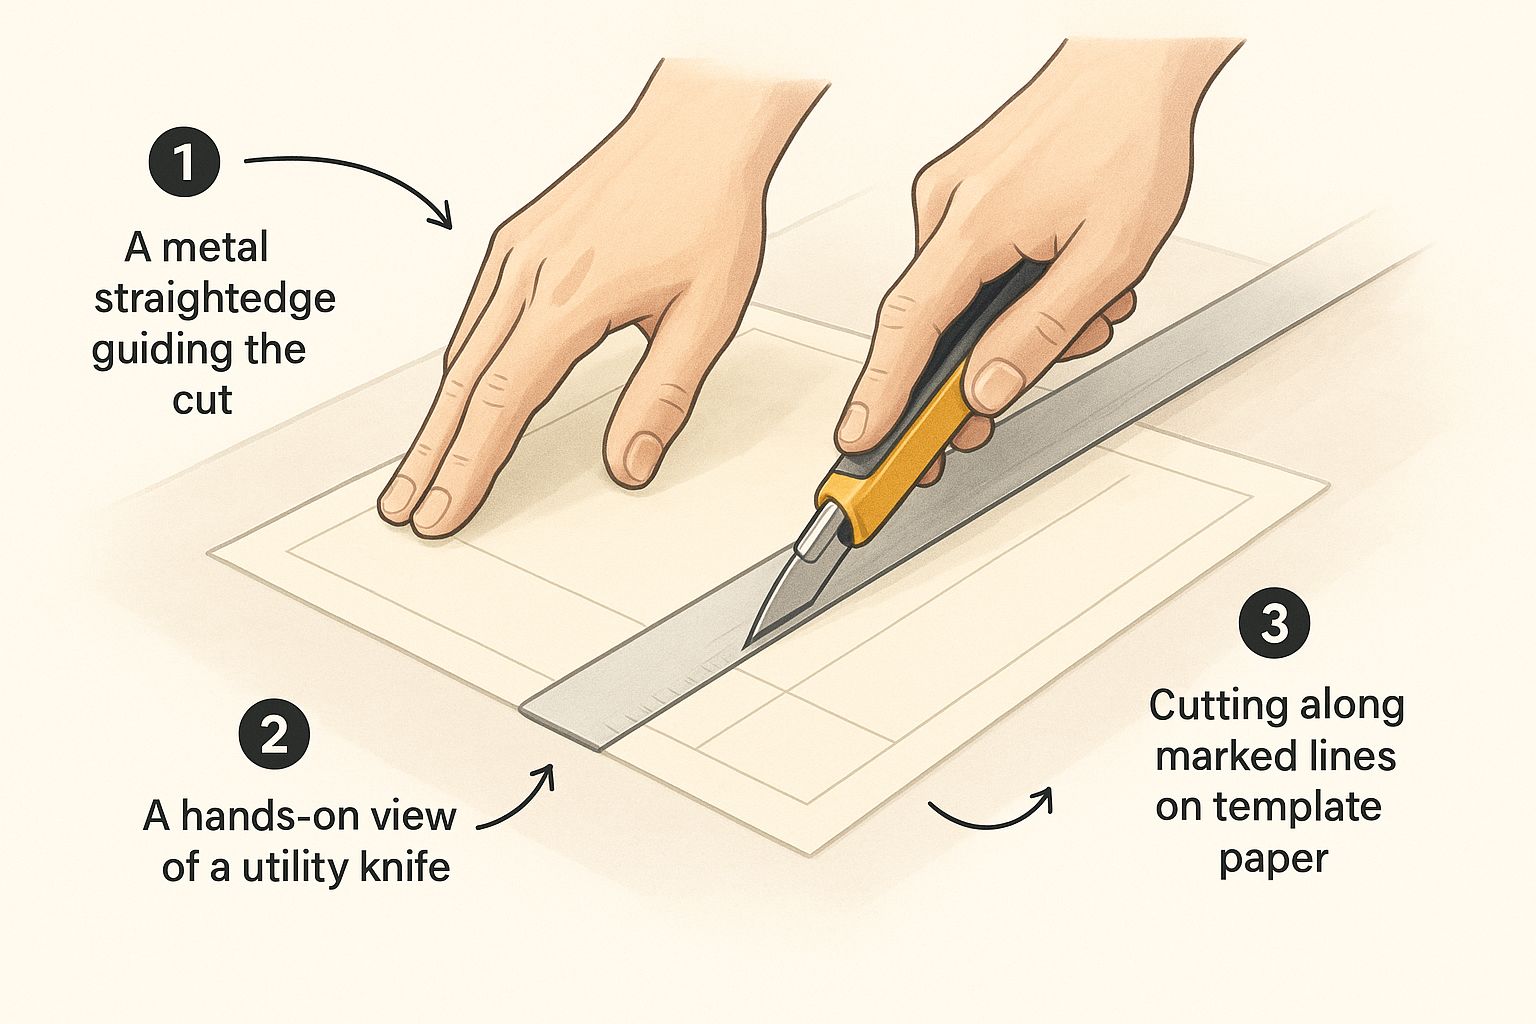
- Marking & Cutting Tools: You'll want sharp pencils, permanent markers for clear labeling, and a sharp utility knife for precise cuts in your templating material.
Key Insight: The single most critical preparation step is confirming your cabinets are perfectly level and securely fastened. The template must capture the final, permanent layout of your kitchen. If cabinets need adjustment, do it before starting the template.
Final Cabinet and Material Inspection
Before you start learning how to template countertops, do one last, thorough check of your cabinets. Use your level to verify they are completely flat, both front-to-back and side-to-side. An unlevel base translates directly to an unlevel countertop, causing major installation headaches.
This is also the moment to consider the stone you've chosen. The natural characteristics of the material, like the beautiful, flowing veins in Taj Mahal quartzite, can influence layout decisions. To learn more about this incredible stone, explore our guide to Taj Mahal quartzite slabs for countertops.
Building a Rigid and Accurate Template Frame
This is where you move from a list of numbers to a physical pattern for your new countertop. Your mission is to build a frame that's both perfectly accurate and completely rigid. Remember, any flex in your template will get transferred directly to the stone—a mistake you can't undo.
Start by laying your templating strips along the back wall, directly on the cabinets. Use your utility knife to cut each piece to fit snugly into corners and against side walls. Once they’re sitting perfectly, use your hot glue gun to tack the strips together, creating a continuous piece that maps the back edge.
Defining Depth and Overhang
With the back of the template locked in, it's time to establish the front edge and countertop depth. This is where you decide on your overhang.
Measure carefully from the back wall to where you want the front edge to be. For a standard 24-inch deep cabinet, you’ll typically want a 25.5-inch deep countertop for the classic 1.5-inch overhang. Use a framing square at several points to ensure your front strips are perfectly parallel to the back ones before gluing them into a solid rail.
Adding Cross-Braces for Stability
You now have a front and back rail, but the frame is likely flimsy. To give it rock-solid structure, you must add cross-braces.
Cut smaller pieces of templating material to connect the front and back rails, placing them every 12 to 18 inches. Glue each end securely. These braces are what prevent the template from flexing, bowing, or twisting.
A rigid template isn't just a suggestion; it's non-negotiable. Even a quarter-inch of flex can create a huge gap against the wall or make your overhang look lopsided.
This same mindset of careful planning applies to any home project. For more expert advice, learn how to purchase natural stone tile for home installation, ensuring quality from the floor up. This structured approach is the best way to ensure your Monterey or Palo Alto home renovation is built on a solid foundation.
Scribing Walls and Defining Countertop Overhangs
Every seasoned installer knows that no wall is perfectly straight, especially in older Bay Area homes. The real craft comes in capturing every subtle bow and wave to achieve a seamless, gap-free installation. A truly precise template must mirror reality, not a blueprint's straight line.
Lay your rigid frame on the cabinets and slide it against the back wall. You will likely see small gaps where the material pulls away. These imperfections are exactly what you need to record.
The Art of Scribing for a Perfect Fit
To transfer the wall’s unique contour onto your template, you'll use a classic technique called scribing. This simple action guarantees the final countertop will sit flush.
- Pick Your Tool: A simple drawing compass or a small, consistently-sized block of wood with a sharp pencil held against it works perfectly.
- Trace the Contour: Find the largest gap between your template and the wall. Set your compass or block to that width. Run your tool along the entire back wall, allowing the pencil to trace every curve directly onto your template.
This scribed line is the exact cutting path for the fabricator. It’s a clear instruction that says, "Cut here to match the unique character of this wall."
A meticulous scribe line is the difference between a truly custom-fitted countertop and one needing a thick bead of caulk to hide gaps. Taking your time here pays off in the final look.
Clearly Marking Overhangs and Edges
With the back edge defined, mark your overhangs. The standard is 1.5 inches for the front edge, but you must also account for any exposed sides on a peninsula or at the end of a cabinet run.
Use your tape measure to mark these overhang lines, but don't just draw lines—grab a bold marker and label everything to remove any guesswork.
Meticulous labeling is what separates the pros from the amateurs. Clearly write down critical details:
- “FRONT EDGE”
- “WALL”
- “1.5" OVERHANG”
- “SINK CENTERLINE”
This level of detail prevents costly mistakes. For a look at what comes next, our guide on installing quartz countertops shows how these initial marks translate into a beautiful finished product.
Marking Precise Cutouts for Sinks and Appliances
Now for the part where precision is everything: marking spots for your sink, cooktop, and fixtures. A misplaced cutout can turn a gorgeous slab of marble into a very expensive mistake. Being off by even half an inch can throw the whole project into chaos.
The method for marking cutouts changes depending on the appliance, but the common thread is painstaking attention to detail.
Positioning Undermount Sinks Accurately
For an undermount sink, your best friend is the paper guide that came in the box. This is the manufacturer's gift to you, providing the sink's exact dimensions. Lay this guide on the cabinet base, using the cabinet walls to center it perfectly.
Once positioned, trace the guide onto a separate, flat piece of templating material. Cut that piece out, and then glue it securely inside your main template frame.
Here's a critical step: clearly label the sink's centerline and specify your desired reveal:
- Positive reveal: The sink's edge is slightly visible.
- Negative reveal: The countertop hangs over the sink's edge.
- Zero reveal: The countertop edge is flush with the sink wall.
Marking for Drop-In Sinks and Cooktops
For a drop-in sink or a cooktop, mark the cutout location directly onto the main template. This requires careful measuring from at least two fixed points—typically the back wall and a side wall.
Always check the appliance's spec sheet for required clearances. This is especially true for cooktops, which need breathing room from combustible materials for safety. Once you have your measurements, mark the corner points and use a straightedge to draw the cutout outline. Double-check every measurement before moving on.
A key takeaway is to always trust manufacturer specifications. These documents contain critical information on clearances and support essential for both safety and functionality.
The type of stone you've chosen can also influence cutouts. To help weigh your options, our guide on choosing between natural stone or porcelain slabs for your home can help you decide. With the sink accurately marked, you can start thinking about fixtures, which means learning how to install your kitchen faucet.
Performing the Final Check for Absolute Accuracy
Before handing off your template, there’s one last, non-negotiable step: the final check. This is your last chance to catch any small mistake before it becomes a massive, expensive problem.
Place the finished template back onto the cabinets one last time and walk around it. Does the overhang look consistent? Are the scribe lines clear? Is the sink cutout exactly where it needs to be?
Adding the Final, Crucial Details
This final inspection is also the time to load the template with all the critical information the fabrication team will need. Your goal is to leave no room for interpretation.
Grab a bold, permanent marker and get to work.
- Seam Locations: If your countertops require seams, mark the exact spot you want them.
- Edge Profile: Clearly write out the chosen edge style, such as “Eased Edge,” “Full Bullnose,” or “1/4 Bevel.”
- Backsplash Template: If you're planning a matching stone backsplash, create a separate template for it, marking all electrical outlet locations precisely.
- Your Information: Write your name, phone number, and project address directly on the template.
Remember, a template is a communication tool. Every line and label helps ensure the fabricator understands your vision perfectly, turning your plan into reality without guesswork.
The quality of your template directly shapes your finished countertops. For more insights on sourcing high-quality materials, read our guide on how to find the right marble supplier to find a partner who values craftsmanship as much as you do.
Frequently Asked Questions
1. Can I template for new countertops before my old ones are removed?
Yes, absolutely. As long as your cabinets are not changing, you can create an accurate template directly on top of your existing countertops. The key is ensuring the cabinets are permanently fixed and level, as this is the true foundation.
2. Is digital templating better than physical templating?
Both methods can produce perfect results. Digital templating uses precise laser equipment, which is excellent for complex layouts and reduces human error. However, traditional physical templating, when done by a skilled professional, is equally accurate and reliable for almost any project.
3. How do you template for a waterfall edge?
Templating a waterfall edge requires two separate pieces. First, template the horizontal top surface as usual. Then, create a second template for the vertical "leg" that goes to the floor, ensuring it is perfectly square with the top piece and accounting for the thickness of the stone at the corner.
4. What is the standard countertop overhang for an island with seating?
For a kitchen island or peninsula designed for seating, the standard overhang is 10 to 12 inches. This provides adequate knee room for comfortable use. The countertop market was valued at $96.89 billion in 2024, according to recent reports, showing how much homeowners value these functional and aesthetic kitchen features.
5. Why do I need to have my sink and faucet on-site for templating?
Your fabricator needs the actual sink to verify its dimensions against the cutout and ensure a perfect reveal. The faucet is needed to confirm that the hole placement will allow for full handle motion without hitting the backsplash, a detail that's crucial for functionality in your finished Monterey kitchen.
Ready to ensure your project is built on a foundation of precision and expertise? The team at Carmel Stone Imports provides professional templating and installation services to guarantee your vision comes to life flawlessly. Visit our showrooms or contact us today for expert guidance on your next project.