Setting stone is a craft where success is built on a solid foundation, not just guesswork. A truly flawless installation comes down to choosing the right materials, meticulously preparing the surface, and precisely laying the stone. This guide offers a practical walkthrough on how to set stone for any project, from a stunning limestone floor in a Palo Alto home to a durable quartzite patio in Monterey.
Your Foundation for Flawless Stone Installation
This guide moves beyond theory to give you the critical, actionable steps that guarantee a professional-grade finish. We'll show you how to set stone for both residential and commercial applications.
You'll learn to manage the whole process, from material selection to the final protective seal. These insights are for seasoned contractors and ambitious homeowners alike—anyone aiming for a sophisticated, high-quality result that elevates a property’s value and beauty.
Stone Installation At-a-Glance
| Phase | Objective | Key Action |
|---|---|---|
| Selection & Planning | Choose the right stone for the application and environment. | Evaluate porosity, hardness, finish, and climate suitability. |
| Surface Preparation | Create a stable, clean, and level foundation. | Clean the substrate, apply a membrane, and lay a mortar bed. |
| Layout & Setting | Ensure a visually pleasing and structurally sound pattern. | Dry-fit the stones, mix thin-set mortar, and set each piece. |
| Grouting & Sealing | Fill the joints and protect the stone from damage. | Apply grout evenly, clean off excess, and apply a high-quality sealer. |
Each phase is crucial. A mistake in one can compromise the entire project, which is why we'll break them down in detail.
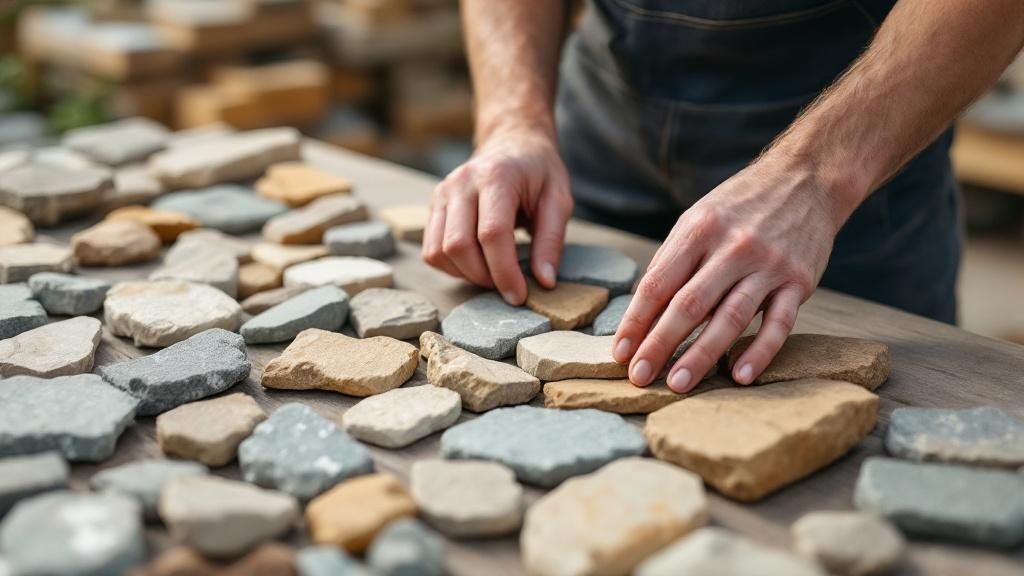
Starting with the Right Stone
Before a single bag of mortar is mixed, your first decision is your most important: selecting the stone. The material dictates everything that follows—the tools, setting materials, and techniques required. A porous travertine for a coastal California patio has entirely different needs than a dense slate for a modern Bay Area entryway.
Success is often determined before work even begins. The right stone choice from Carmel Stone Imports simplifies every subsequent step, ensuring the final installation meets both aesthetic goals and performance demands.
Making an informed choice saves massive headaches. You need to consider:
- Porosity: How easily will the stone stain or absorb water?
- Hardness: Can it stand up to heavy foot traffic?
- Finish: Does a polished, honed, or textured surface fit the application?
- Climate Suitability: Will it hold up to Monterey’s coastal fog or the Bay Area’s temperature swings?
Getting this first step right is non-negotiable. For a deeper dive, learn more about how to choose the right natural stone in our detailed guide.
Choosing Your Stone and Setting Materials
Any seasoned installer will tell you that a project's success is decided long before the first stone is laid. Picking the right stone isn't just about aesthetics; it's a technical choice that shapes the entire process. The right material depends entirely on your project's location and use.
For example, a sun-drenched coastal California home is a perfect backdrop for travertine's warm character, but diligent sealing is a must. A dense, hard-wearing slate, on the other hand, is a fantastic choice for a high-traffic entryway in a modern Bay Area home. You must match factors like porosity, hardness, and slip resistance to the specific application.
Matching Mortar to Your Material
Once you've landed on the perfect stone, the setting material is just as critical. The bond between your stone and the substrate guarantees your installation will last. Your two main choices are thin-set and medium-bed mortars.
- Thin-Set Mortar: This is your go-to for most standard jobs, but only when the substrate is perfectly level and the stone has a consistent thickness.
- Medium-Bed Mortar: This is what you need for large-format tiles or natural stones with variations in thickness. Its non-slump formula prevents heavy pieces from sinking, ensuring an even finish.
For less porous materials like porcelain, a polymer-modified mortar is a must for its extra adhesion and flexibility. To get the perfect mix for larger jobs, purpose-built tools like high-quality cement mixer bowls ensure the right consistency.
The setting material is every bit as important as the stone you choose. The wrong mortar can cause delamination, cracks, and a complete failure of the installation.
This need for precision is also crucial when creating templates for custom countertops. Knowing how to create an accurate template is the difference between a perfect fit and a costly mistake. For a closer look, see our guide on how to template countertops.
Preparing Surfaces for a Lasting Installation
You can have the most beautiful stone in the world, but it's only as good as the surface it sits on. The substrate—that underlying layer—is the unsung hero of every project. Rushing this step sets you up for cracked tiles and expensive repairs.
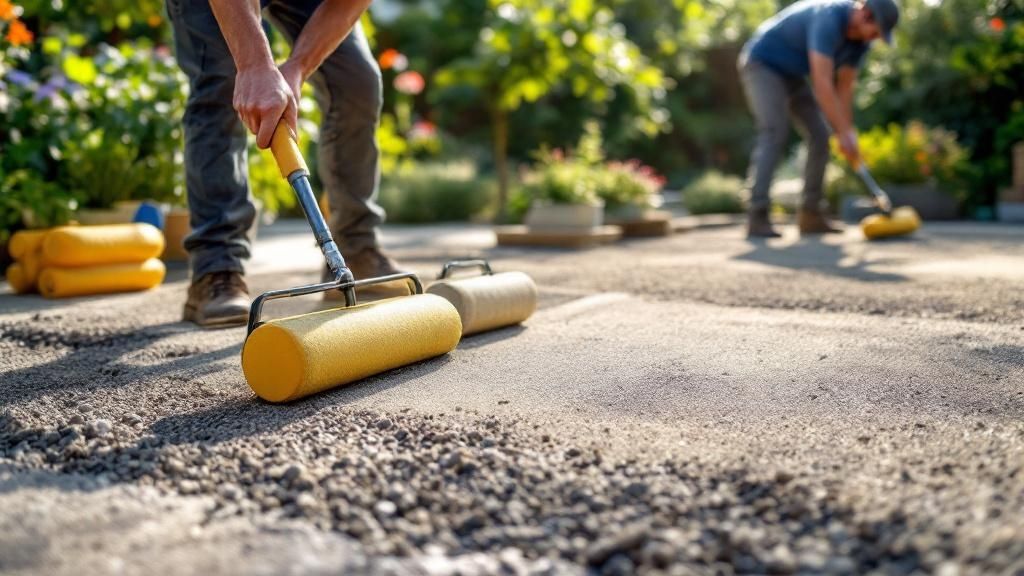
Proper prep is about taking the time to assess, clean, and level the base. Whether it's a concrete slab for an indoor floor or a compacted gravel bed for an outdoor patio, the goal is the same: create a perfectly flat, stable surface ready to bond with your mortar and stone.
Achieving a Perfectly Flat and Stable Base
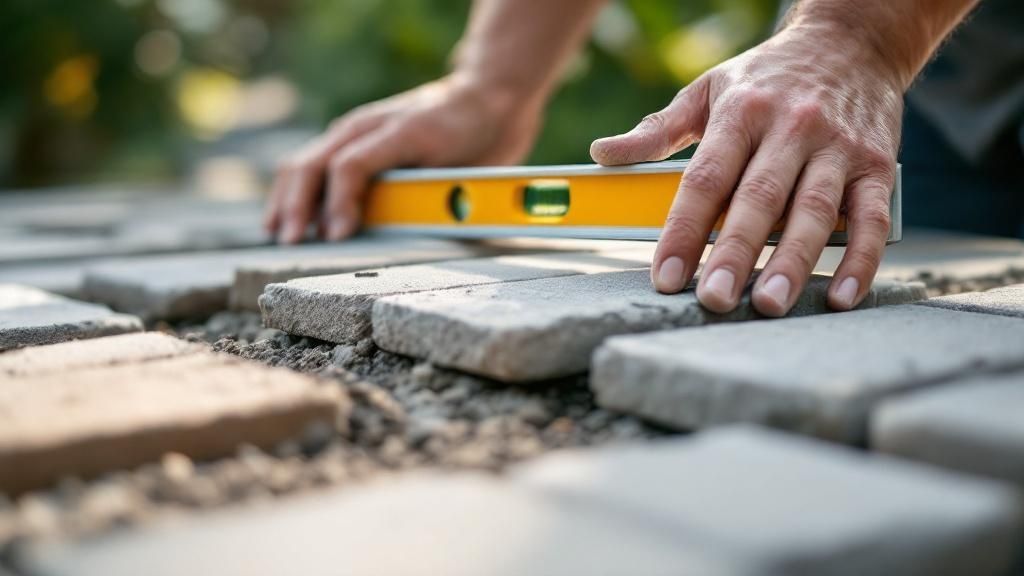
An uneven substrate is the number one enemy of a stone installation. Any dip creates a void under the stone, which becomes a weak point that can lead to stress fractures. A flawlessly level base is completely non-negotiable.
For interior jobs on concrete, deep clean the surface to remove any contaminants. Then, use a long straightedge to check for flatness. A self-leveling compound is your best friend for low spots. For outdoor projects, excavate the soil and lay a compacted gravel base topped with a layer of stone dust for fine-tuned leveling.
The most harmonious, long-lasting dry-laid flagstone patios are built on a flexible gravel base, not rigid concrete. A well-prepared gravel foundation moves slightly with freeze-thaw cycles, preserving the integrity of the stonework.
Here’s a quick checklist for some common substrates:
Substrate Preparation Checklist
| Substrate Type | Key Preparation Step | Common Challenge | Recommended Solution |
|---|---|---|---|
| Concrete Slab (Interior) | Grind and clean the surface; check for flatness. | Hairline cracks or unevenness. | Use a crack-isolation membrane and a self-leveling compound. |
| Plywood/OSB (Interior) | Install cement backer board over the wood. | Flex and moisture absorption. | Add a layer of ½-inch cement backer board and waterproof seams. |
| Compacted Gravel (Exterior) | Excavate 4-6 inches, add and compact gravel in layers. | Poor drainage or settling over time. | Ensure proper slope for drainage and use a plate compactor on each layer. |
| Existing Tile (Interior) | Scuff the surface of the old tile. | Poor adhesion to the glazed surface. | Use a specialized primer or thin-set mortar designed for tile-over-tile. |
This checklist isn't exhaustive, but it covers the fundamentals. Always ensure your substrate is clean, stable, and ready to bond before you even think about mixing mortar.
Protecting Your Installation from Moisture and Cracks
In places like the Monterey Bay Area, protecting your stone installation from constant coastal fog and moisture is absolutely key. Specialized membranes serve two vital functions.
- Waterproofing Membranes: A must for any wet area, these are applied directly to the substrate before the mortar. They create a watertight barrier that stops moisture from seeping into the structure.
- Crack-Isolation Membranes: If you're installing stone over a concrete slab, you need one. These elastic membranes absorb movement from tiny concrete cracks, preventing them from telegraphing up through your beautiful stone.
These preparatory steps are the real secret to a professional-grade result. It’s the invisible work that guarantees your stunning French limestone floors will look just as good in ten years as they do on day one.
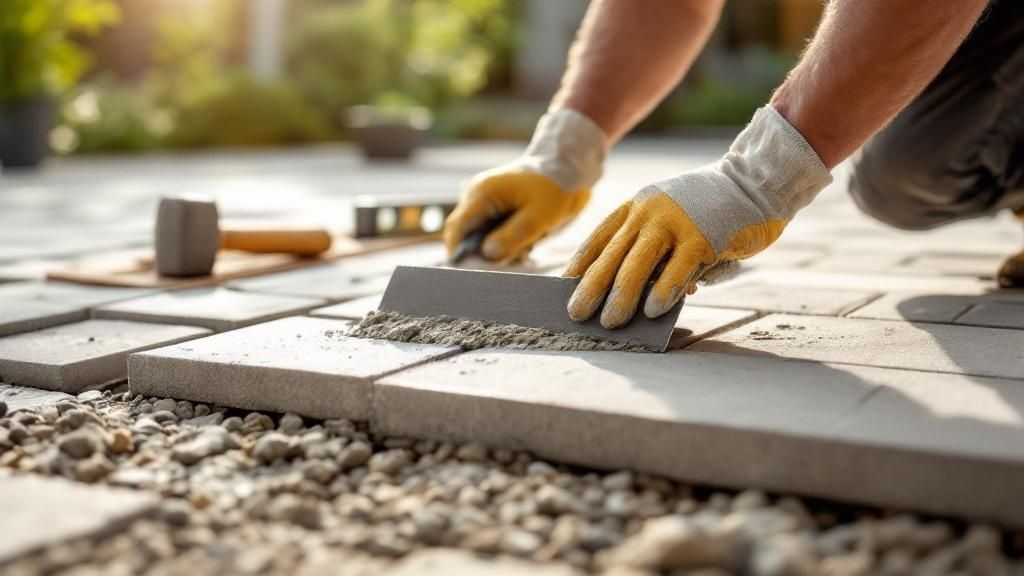
The Art of Laying and Setting Stone
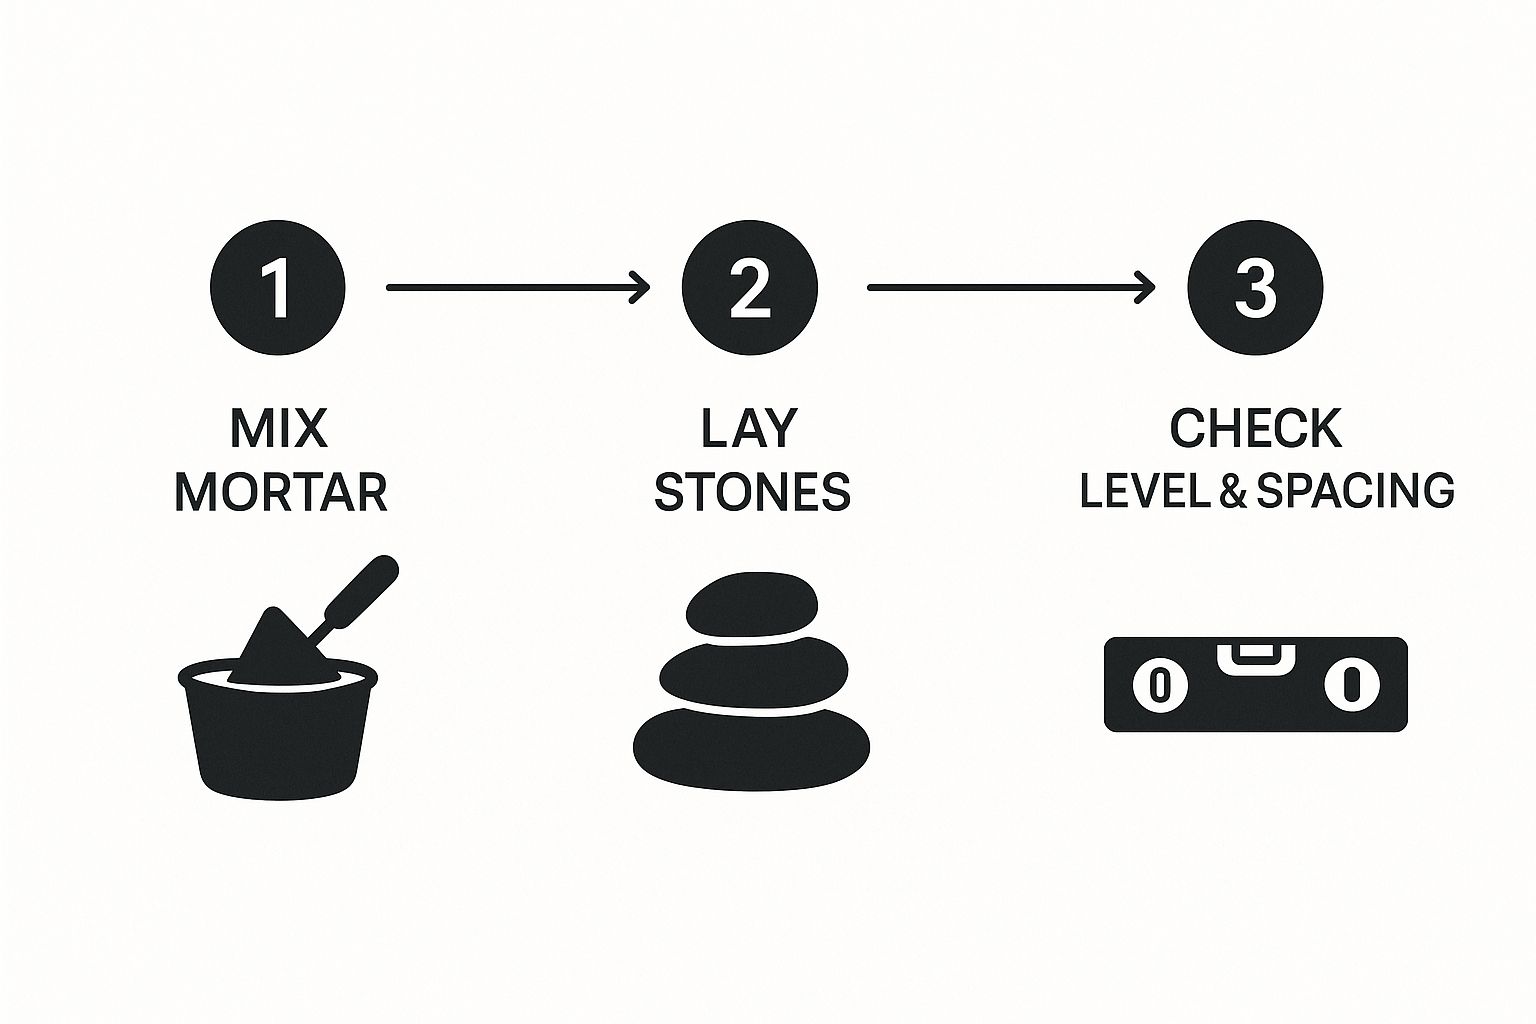
This is where the magic happens. After careful preparation, you get to see your vision come to life as you set each stone in place. The name of the game here is patience and a keen eye for detail.
Before mixing any mortar, you absolutely must do a dry lay. This is non-negotiable. Lay out your stones exactly where they’ll go to finalize the pattern, see how everything fits, and spot pieces that need cutting. Starting from the center of the area is the best way to get a balanced, symmetrical look.
Mastering Mortar and Adhesion
Getting your mortar consistency right is crucial. Think creamy peanut butter—stiff enough to hold its shape on your trowel. If you’re working with large format tiles, you must back-butter them by spreading a thin, even coat of mortar on the back of the stone itself. This simple step ensures a solid bond and prevents hollow spots.
The biggest mistake I see people make is rushing. Setting stone is a slow dance. Take your time. Make sure every single piece is perfectly level and spaced correctly before moving on to the next one.
When you come up against obstacles, your wet saw is your best friend for clean, precise cuts and a custom fit. This kind of precision is especially critical for intricate jobs, like those we cover in our guide on installing quartz countertops, where every millimeter counts.
Stone isn't just for floors and countertops, either. It’s a star player in landscaping. You can create beautiful designs by integrating natural stone in pond water features, adapting this skill from precise interior work to flowing outdoor elements.
Finishing Touches: Grouting and Sealing
The last few steps of any stone installation are what really make it sing. Grouting and sealing aren't just for looks—they're the critical final layers that protect your beautiful new stone from daily use. This is where a good job becomes a great one.
Picking the Right Grout
First, you need to choose the right grout. The decision comes down to the width of your grout lines and the type of stone you’re working with.
For wider joints over 1/8 of an inch, go with sanded grout. For delicate, polished stones like marble or tight joints less than 1/8 of an inch, you must use unsanded grout to avoid scratching the finish. Next, choose between cementitious or epoxy.
- Cementitious Grout: The reliable, go-to option. It’s affordable and works well for most projects, especially when mixed with a polymer-additive for durability.
- Epoxy Grout: While it costs more, epoxy grout is a game-changer. It's non-porous and incredibly resistant to stains, making it a fantastic choice for kitchens and bathrooms in homes from Palo Alto to Monterey.
The Art of Sealing Your Stone
Sealing is non-negotiable for nearly all natural stone. Porous materials like limestone, travertine, and marble will soak up spills and moisture if left unprotected. A quality sealer acts as a shield, blocking liquids before they can cause damage.
When picking a sealer, you’ll find two main types:
- Penetrating (Impregnating) Sealers: These soak deep into the stone to create an invisible barrier without changing its appearance.
- Enhancing Sealers: These also penetrate the stone but are formulated to darken and enrich its colors, often giving it a "wet" look that makes its character pop.
Think of sealing as an insurance policy for your stone. A properly sealed surface is far easier to clean, protecting your investment and ensuring its beauty remains the centerpiece of your design.
Proper sealing makes future maintenance simpler. For more expert advice, dig into guides on natural stone floor cleaning. It's also crucial to know the right way to care for your specific stone, and our guide on sanitizing natural and engineered stone provides essential tips.
Frequently Asked Questions
1. What’s the right mortar for large, heavy stone tiles?
For any tile with a side longer than 15 inches, you must use a medium-bed or large-and-heavy-tile (LHT) mortar. These non-slump formulas prevent heavy stone from sinking or sliding, which is the secret to getting a flat surface and avoiding cracks.
2. Do I really need to seal my stone patio in California?
Yes, absolutely. A good sealer protects against moisture from rain and coastal fog while also acting as a sunscreen against UV rays that can fade the stone's color. It also prevents stains and makes cleanup much easier.
3. How long do I have to wait before I can grout?
Patience is key. You must wait at least 24 to 48 hours after setting the stone to allow the mortar to cure properly. This ensures your tiles are locked in place and won't shift during grouting. Always check the mortar manufacturer's instructions.
4. Can I install new stone directly over an old tile floor?
While it seems like a shortcut, installing stone directly over old tile is a bad idea. It adds significant weight and height to the floor, which can cause structural issues and tripping hazards. The only right way is to remove the old tile and prepare the substrate properly.
5. What’s the difference between sanded and unsanded grout?
It all comes down to the aggregate. Sanded grout contains fine sand for extra strength in standard joints (1/8 inch or wider). Unsanded grout is smooth and is used for delicate, scratch-prone stones like polished marble or in very tight joints (less than 1/8 inch).
Ready to Get Started? Talk to a Stone Expert
Reading about how to set stone is one thing, but seeing and feeling the materials for yourself is another. A successful project always starts with choosing the right stone from a trusted supplier.
That's where we come in.
We invite you to visit a Carmel Stone Imports showroom in Monterey, Palo Alto, or San Carlos. You can explore our collections of world-class natural and engineered stone, from dramatic marbles to resilient quartzites. Our team lives and breathes stone and can help you find the perfect material for your design vision.
An exceptional installation is a partnership between quality materials and expert advice. It ensures the final result is not just built, but crafted.
Let us help you bring your vision to life with stone that performs. Contact us today to schedule a consultation. Let's make sure your installation is a masterpiece.
